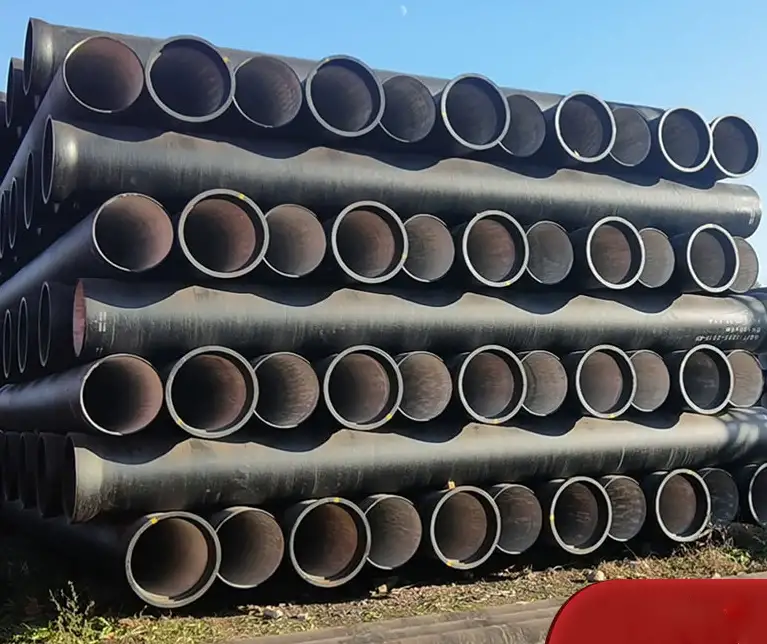
Hydrotesting ductile iron pipe is a critical quality control process that verifies system integrity by pressurizing the pipeline with water to detect leaks or weaknesses. Conducted after installation, this test typically follows AWWA C600 or ISO 10802 standards, applying 1.5 times the working pressure for a specified duration.
1. Introduction to Hydrotesting Ductile Iron Pipes
Hydrotesting, also known as pressure testing, is a critical process in the installation and maintenance of ductile iron pipes. The purpose of hydrotesting is to ensure the integrity of the pipeline by subjecting it to high-pressure water tests. This process helps identify leaks, weaknesses, or any other issues before the pipe is put into service.
In this guide, we will explore the complete process of hydrotesting ductile iron pipes, the importance of the test, the necessary equipment, and troubleshooting tips to ensure successful testing.
2. What is Hydrotesting?
2.1. Definition of Hydrotesting
Hydrotesting is a method of testing the strength and leakage resistance of pipes, including ductile iron pipes, by filling them with water and applying pressure. The pressure exerted during the test is typically much higher than the pipe’s normal operating pressure to ensure its safety and structural integrity.
2.2. Purpose of Hydrotesting Ductile Iron Pipes
The main purposes of hydrotesting ductile iron pipes include:
-
Leak Detection: To find any potential leaks or weak spots in the pipe that could cause failures.
-
Ensuring Structural Integrity: To verify that the pipe can withstand the expected pressure during its operational life.
-
Confirming Joint Integrity: To check if the pipe joints are securely sealed and do not leak under pressure.
2.3. Hydrotesting Standards and Codes
Hydrotesting must comply with industry standards and codes. These typically include:
-
ASTM A746: Standard Specification for Ductile Iron Pipe.
-
AWWA C150: American Water Works Association standard for ductile iron pipes.
-
AWWA C600: Standard for installation of ductile iron pipelines.
-
ISO 9001: Quality management standard applicable to manufacturers of ductile iron pipes.
3. Hydrotesting Process for Ductile Iron Pipe
3.1. Preparation for Hydrotesting
Before beginning the hydrotest, it’s important to prepare the ductile iron pipe and the testing environment. Preparation includes:
-
Cleaning the Pipe: Ensure the ductile iron pipe is clean and free from debris, dirt, or oil, which could interfere with the test.
-
Inspection: Visually inspect the pipe and joints for any visible defects or cracks that may affect the test results.
-
Filling the Pipe with Water: The pipe must be completely filled with water to ensure the test is performed properly.
3.2. Setting Up the Hydrotest Equipment
Hydrotesting requires specific equipment, including:
-
Pressure Pump: A pump capable of pressurizing the pipe to the required level.
-
Pressure Gauge: To monitor the pressure during the test.
-
Valve and Fittings: To control the flow of water into the pipe and to isolate sections of the pipeline during the test.
-
Bleed Valve: To remove air from the pipe before the test.
3.3. Performing the Hydrotest
Here are the basic steps in performing a hydrotest:
-
Connect the Pressure Pump: Attach the pump to the pipeline at a point where pressure can be applied evenly.
-
Increase the Pressure: Slowly increase the pressure to the desired test level. For ductile iron pipes, the typical test pressure is around 1.5 times the pipe’s maximum operating pressure.
-
Monitor Pressure: Hold the pressure for a specified period (typically 2 hours) and monitor for any drop in pressure, which would indicate a leak.
-
Inspect for Leaks: Check all joints and pipe sections for any signs of leakage. Leaks could be identified by visible water escape or changes in pressure readings.
-
Release the Pressure: Once the test is completed and the pipe passes the test, gradually release the pressure and drain the water.
3.4. Post-Test Inspection
After the test is complete, conduct a final inspection to ensure that no permanent damage has been done to the pipe or its joints.
4. Common Issues During Hydrotesting and Troubleshooting
4.1. Pressure Drop
-
Problem: A sudden or gradual drop in pressure during the test could indicate a leak in the pipeline.
-
Solution: Inspect each section of the pipeline, including joints, valves, and fittings, to locate the source of the leak. Tighten fittings and repair any damaged joints.
4.2. Air Trapping
-
Problem: Air trapped in the pipe during filling could cause inconsistent pressure readings.
-
Solution: Use a bleed valve to remove air before starting the test.
4.3. Inadequate Pressure
-
Problem: Insufficient pressure may lead to inconclusive test results.
-
Solution: Ensure the pump used can provide the required pressure. Check the pressure gauge calibration.
5. Equipment Used for Hydrotesting Ductile Iron Pipe
5.1. Pressure Pumps
A hydrotest requires a reliable pressure pump that can exert the correct amount of pressure on the pipeline. Pumps can be manual, electric, or gas-powered depending on the size of the pipe and the required pressure levels.
5.2. Pressure Gauges
Accurate pressure measurement is crucial. The pressure gauge should have a high enough range to cover the expected test pressure, which can be 1.5 times the pipe’s rated operating pressure.
5.3. Valve and Fittings
Valves and fittings are used to regulate water flow and isolate sections of the pipe during testing. They must be made of corrosion-resistant materials, as they will be exposed to high-pressure water.
6. Benefits of Hydrotesting Ductile Iron Pipe
6.1. Ensures Pipe Quality
Hydrotesting guarantees that the ductile iron pipe can withstand the pressure it will face in operation, reducing the risk of failures after installation.
6.2. Detects Weaknesses Early
By performing hydrotests, weaknesses such as faulty joints or cracks can be detected early, allowing for timely repairs before the pipe is put into service.
6.3. Improves Reliability and Safety
Hydrotesting ensures that the pipe will function as intended in real-world conditions, which increases the overall reliability and safety of the pipeline system.
7. Best Practices for Hydrotesting Ductile Iron Pipe
7.1. Follow Industry Standards
Always ensure that the hydrotesting procedure complies with relevant standards such as AWWA, ASTM, and ISO. This will ensure that the test is conducted safely and accurately.
7.2. Perform Pre-Test Inspections
Before hydrotesting, thoroughly inspect the pipe and joints for any defects or damage that could affect the test. This ensures that the test results are valid and the pipe is in good condition.
7.3. Monitor Pressure Constantly
During the test, continuously monitor the pressure gauge and the pipe for any signs of leakage. Consistent monitoring helps to ensure that any issues are detected early.
8. FAQ: Hydrotesting Ductile Iron Pipe
Q1: What pressure should be used for hydrotesting ductile iron pipes?
Answer: Hydrotesting typically involves applying pressure that is 1.5 times the pipe’s rated operating pressure. The standard pressure for testing ductile iron pipes can range from 150 to 300 psi, depending on the pipe’s specifications.
Q2: Can hydrotesting be performed on a pipeline that has already been installed?
Answer: Yes, hydrotesting can be performed on already-installed pipelines. The process is crucial for verifying that the installed pipe can withstand operational pressures and to check for any damage that might have occurred during installation.
Q3: How do I know if my ductile iron pipe has passed the hydrotest?
Answer: The pipe has passed the hydrotest if the pressure remains steady throughout the test period without any significant drop. Any drop in pressure usually indicates a leak or weakness in the pipe.
Q4: What should I do if the hydrotest fails?
Answer: If the hydrotest fails, inspect the pipeline for leaks, cracks, or weak joints. Address the issue by repairing or replacing the faulty section before retesting. Ensure all connections and joints are tightened and sealed correctly.
Q5: How long should the hydrotest last?
Answer: A typical hydrotest lasts for 2 hours, during which the pressure should be maintained and monitored. However, the exact duration can vary based on project specifications.
Q6: Can hydrotesting be done without professional assistance?
Answer: Hydrotesting should be performed by trained professionals to ensure accuracy and safety. The high pressures involved can be dangerous if not handled correctly, so it is important to follow proper procedures and safety protocols.
9. Video Tutorial on Hydrotesting Ductile Iron Pipes
10. Conclusion
Hydrotesting ductile iron pipes is a vital step in ensuring the integrity and safety of pipeline systems. By following the correct procedure, using the right equipment, and adhering to industry standards, you can ensure that your ductile iron pipes are tested properly and are ready for use in real-world applications.
