Proper installation of ductile iron pipe requires careful trench preparation, joint assembly, and backfilling techniques to ensure long-term performance. Key steps include bedding the pipe on compacted granular material, aligning joints with rubber gaskets or mechanical connections, and applying controlled backfill layers to prevent deformation.
1. Introduction
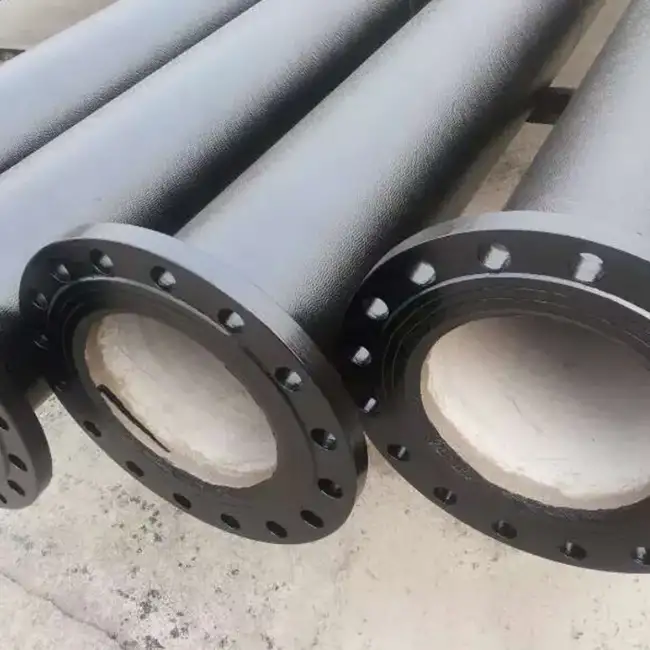
1.1 What Is Ductile Iron Pipe?
Ductile iron pipe is a type of cast iron pipe that is treated to increase its strength and ductility. It is commonly used in water and wastewater systems due to its durability and resistance to corrosion.
1.2 Advantages of Ductile Iron Pipe
-
Strength: Can withstand high internal pressures.
-
Durability: Resistant to corrosion and wear.
-
Flexibility: Able to absorb ground movements.
-
Longevity: Long service life with proper maintenance.
1.3 Applications of Ductile Iron Pipe
Ductile iron pipes are used in various applications, including:
-
Water Distribution: Supplying potable water.
-
Sewer Systems: Transporting wastewater.
-
Industrial Applications: Carrying chemicals and other fluids.
2. Planning and Preparation
2.1 Site Assessment
Before installation, conduct a thorough site assessment to identify:
-
Soil Conditions: Determine soil type and compaction.
-
Existing Utilities: Locate other underground utilities.
-
Traffic Patterns: Plan for traffic control if necessary.
2.2 Required Tools and Equipment
Ensure you have the following tools:
-
Excavators: For trenching.
-
Pipe Lifters: For handling heavy pipes.
-
Jointing Tools: For assembling pipe joints.
-
Compaction Equipment: For backfilling.
2.3 Safety Precautions
-
Personal Protective Equipment (PPE): Wear helmets, gloves, and safety boots.
-
Trench Safety: Use trench boxes or shoring to prevent collapses.
-
Traffic Control: Implement signage and barriers to protect workers.
3. Trenching and Bedding
3.1 Trench Dimensions
Follow these guidelines for trench dimensions:
-
Width: At least 12 inches wider than the pipe diameter.
-
Depth: Sufficient to provide proper cover over the pipe.
3.2 Bedding Materials
Use materials like sand or fine gravel to create a stable bed for the pipe. This helps in load distribution and prevents pipe damage.
3.3 Pipe Alignment and Grade
Ensure the pipe is aligned straight and laid at the correct grade to facilitate proper flow. Use laser levels or string lines for accuracy.
4. Pipe Handling and Storage
4.1 Unloading and Storing Pipes
-
Unloading: Use cranes or forklifts to unload pipes safely.
-
Storage: Store pipes on a flat surface away from traffic.
4.2 Inspection Before Installation
Inspect each pipe for:
-
Cracks or Damage: Check for visible defects.
-
Cleanliness: Ensure the pipe ends are free from debris.
-
Dimensions: Verify pipe length and diameter.
5. Pipe Installation
5.1 Preparing the Pipe
-
Cleaning: Remove any dirt or debris from the pipe ends.
-
Lubrication: Apply lubricant to gaskets if required.
5.2 Jointing Methods
Common jointing methods include:
-
Push-On Joints: Simple and cost-effective.
-
Mechanical Joints: Provide a flexible connection.
-
Flanged Joints: Used for high-pressure applications.
5.3 Installing the Pipe in the Trench
-
Placement: Lower the pipe into the trench carefully.
-
Alignment: Ensure proper alignment and grade.
-
Joining: Connect the pipe sections securely.
6. Backfilling and Compaction
6.1 Backfilling Materials
Use clean, granular materials for backfilling to prevent pipe damage.
6.2 Compaction Techniques
-
Layering: Backfill in layers not exceeding 6 inches.
-
Compaction: Compact each layer to the required density.
6.3 Final Grading
Ensure the trench is filled to the original ground level and properly graded.
7. Testing and Commissioning
7.1 Pressure Testing
Conduct hydrostatic pressure tests to verify the integrity of the pipeline. Follow local standards for pressure and duration.
7.2 Disinfection Procedures
For potable water pipelines, disinfect the system using chlorine or other approved methods. Flush the system thoroughly before commissioning.
7.3 Final Inspection
Perform a final inspection to ensure all installation procedures have been followed and the system is operational.
8. Maintenance and Troubleshooting
8.1 Routine Maintenance
-
Inspection: Regularly check for leaks or damage.
-
Cleaning: Remove any blockages or debris.
-
Lubrication: Maintain joints and valves as per manufacturer recommendations.
8.2 Common Issues and Solutions
-
Leaks: Identify the source and replace damaged sections.
-
Corrosion: Apply protective coatings or cathodic protection.
-
Blockages: Use cleaning tools or chemicals to clear obstructions.
9. FAQs
9.1 What is the lifespan of ductile iron pipes?
Ductile iron pipes have a lifespan of 50 to 100 years, depending on environmental conditions and maintenance practices.
9.2 Can ductile iron pipes be used for both water and sewer systems?
Yes, ductile iron pipes are versatile and can be used in both water distribution and sewer systems.
9.3 How do I prevent corrosion in ductile iron pipes?
Apply protective coatings, use corrosion inhibitors, and consider cathodic protection to prevent corrosion.
9.4 Are there any special considerations for installing ductile iron pipes in cold climates?
In cold climates, ensure proper insulation and consider the use of heat tracing to prevent freezing.
9.5 What should I do if a ductile iron pipe is damaged?
Assess the damage, isolate the affected section, and replace or repair the damaged pipe as necessary.
9.6 How do I properly dispose of old ductile iron pipes?
Follow local regulations for recycling or disposal. Ductile iron is recyclable and can be processed at scrap metal facilities.
10. Video
References:
- AWWA/ANSI Installation Guide for Ductile Iron Pipe – AMERICAN Ductile Iron Pipe
- Installation of Ductile Iron Pipe – Ductile Iron Pipe Research Association (DIPRA)
- ASTM D3034 – Standard Specification for Type PSM Poly(Vinyl Chloride) (PVC) Sewer Pipe and Fittings
- Ductile Iron Pipe – Wikipedia Overview
- Trenching and Excavation Safety – OSHA (Occupational Safety and Health Administration)
