Joining ductile iron pipes (DIP) correctly is crucial for ensuring the integrity and durability of any water, sewage, or utility system. While ductile iron is known for its strength and flexibility, making secure, long-lasting connections requires the right techniques, tools, and materials.
What is Ductile Iron Pipe?
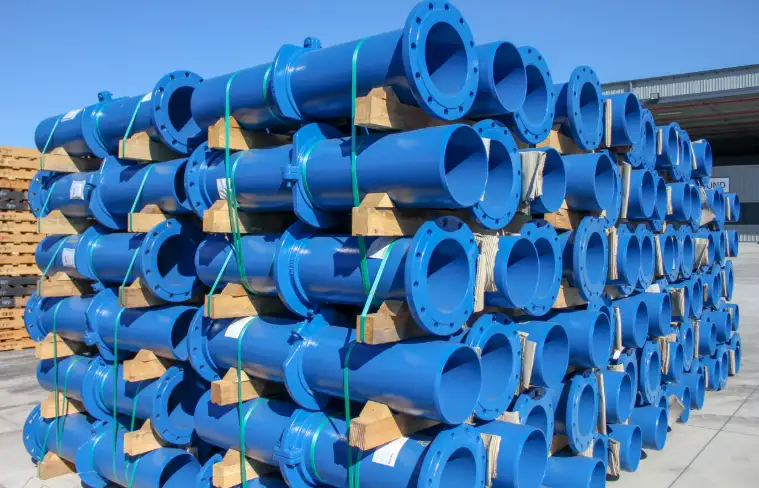
Ductile iron pipe is a type of pipe made from an advanced form of cast iron that offers enhanced strength and flexibility. It is commonly used for transporting water, wastewater, and other fluids under pressure. Ductile iron pipe is ideal for large-scale systems, but understanding how to join it properly is key to its performance and longevity.
Methods for Joining Ductile Iron Pipe
There are several methods to join ductile iron pipes, each with its benefits and suitable applications. Below are the most common techniques:
1. Push-On Joints
Push-on joints are one of the most common and easiest methods for joining ductile iron pipes. These joints rely on gaskets to create a seal and prevent leakage.
-
How It Works: The gasket is placed inside the bell of one pipe, and the spigot end of the other pipe is pushed into the bell. The gasket creates a tight seal as the two ends are pushed together.
-
Tools Required: Lubricant, pipe jointing tools, and a mallet (optional).
Advantages:
-
Simple installation.
-
Minimal tools required.
-
Effective seal.
Disadvantages:
-
Not suitable for high-pressure applications without additional support.
2. Mechanical Joints
Mechanical joints involve the use of a flange and bolts to connect two ductile iron pipes. This method is often used when higher pressure tolerance is needed.
-
How It Works: A metal sleeve with a gasket is placed over the pipe ends, and bolts are tightened to secure the connection. The gasket forms a seal, and the metal sleeve prevents separation under pressure.
-
Tools Required: Wrenches, bolts, gaskets.
Advantages:
-
Stronger seal, suitable for high-pressure systems.
-
Easier to disassemble for maintenance or replacement.
Disadvantages:
-
Requires more tools and effort compared to push-on joints.
3. Flanged Joints
Flanged joints are a secure and reliable way to join ductile iron pipes, especially in systems where disassembly might be needed.
-
How It Works: Each pipe has a flange that is bolted to another pipe’s flange. A gasket between the flanges ensures a tight, leak-proof seal.
-
Tools Required: Flanges, bolts, gaskets, pipe wrenches.
Advantages:
-
Can withstand high pressure.
-
Allows for easy disassembly for future repairs.
Disadvantages:
-
Requires more material and tools.
-
More time-consuming installation process.
Tools and Materials Needed
Joining ductile iron pipes requires a few essential tools and materials. Here’s a table of what you’ll need for the three joining methods discussed above:
| Tool/Material | Push-On Joints | Mechanical Joints | Flanged Joints |
|---|---|---|---|
| Pipe Lubricant | Yes | Yes | No |
| Gaskets | Yes | Yes | Yes |
| Wrenches | No | Yes | Yes |
| Bolts | No | Yes | Yes |
| Pipe Cutter | Yes | Yes | Yes |
| Flanges | No | No | Yes |
| Mallet | Yes | No | No |
| Safety Gear (Gloves, Goggles) | Yes | Yes | Yes |
Step-by-Step Guide to Joining Ductile Iron Pipes
Step 1: Prepare the Pipe Ends
-
Cutting: If you need to cut the pipe to a specific length, use a pipe cutter designed for ductile iron. Ensure the ends are clean, smooth, and free of burrs.
Step 2: Lubricate the Gasket
-
If you’re using push-on joints, apply lubricant to the gasket. This makes it easier to fit the pipes together and ensures a better seal.
Step 3: Align the Pipe Sections
-
For push-on joints, insert the spigot end of one pipe into the bell of the other. For mechanical or flanged joints, align the flanges or joint fittings.
Step 4: Install the Gasket
-
Make sure the gasket is properly seated. For mechanical joints, place it inside the sleeve, ensuring it’s not twisted or damaged.
Step 5: Tighten the Connection
-
If using mechanical joints, tighten the bolts evenly to secure the connection. For push-on joints, ensure the pipe is pushed in far enough to compress the gasket. In flanged joints, tighten the bolts until the flanges are secured.
Step 6: Check for Leaks
-
After completing the joint, conduct a pressure test to check for leaks. If any leaks are detected, re-tighten the bolts or adjust the pipe positioning.
Best Practices for Joining Ductile Iron Pipe
-
Proper Alignment: Misalignment can cause stress on the joints, leading to leaks or failure.
-
Use the Right Gaskets: Always use gaskets that are designed for the specific type and size of ductile iron pipe you are using.
-
Lubricate: Lubricating the gasket helps ensure a proper seal and makes the pipe easier to insert.
-
Torque the Bolts Correctly: Over-tightening or under-tightening bolts can compromise the joint’s integrity.
FAQ (Frequently Asked Questions)
Q1: What is the best method for joining ductile iron pipes?
-
The best method depends on your application. For most standard installations, push-on joints are sufficient. However, for high-pressure systems, mechanical or flanged joints provide greater reliability.
Q2: Can I install ductile iron pipes without specialized tools?
-
Some methods, like push-on joints, require minimal tools. However, mechanical and flanged joints require more specialized tools, including wrenches and bolts.
Q3: How do I know if my ductile iron pipe joints are properly sealed?
-
Conduct a pressure test to check for leaks. If there is any water seepage, adjust the connection until the leak is fixed.
Q4: Are ductile iron pipe joints easy to disassemble?
-
Push-on joints are typically easy to disassemble, while mechanical and flanged joints are designed for easier disassembly and maintenance compared to welded or glued joints.
Q5: How long will a ductile iron pipe joint last?
-
With proper installation and maintenance, ductile iron pipe joints can last for over 100 years.
Conclusion
Joining ductile iron pipes properly is essential for creating a reliable, long-lasting water, sewage, or utility system. Whether you opt for push-on, mechanical, or flanged joints, it’s crucial to follow the correct procedures and use the right tools. With this guide, you’re equipped to make secure, leak-proof connections that will stand the test of time.
References:
- Ductile Iron Pipe Overview – Wikipedia
- AWWA C151/A21.51: Ductile-Iron Pipe, Centrifugally Cast – American Water Works Association (AWWA)
- Joint Types in Ductile Iron Pipe – McWane, Inc.
- The Difference Between Push-On and Mechanical Joints – Tyler Union
- Pipe Joining Methods for Ductile Iron Pipe – Ductile Iron Pipe Research Association (DIPRA)
